
Thoughtvaultzone
Building a DIY bookshelf is a rewarding project that can enhance your living space and provide a perfect solution for organizing books and other decorative items. Whether you are an experienced woodworker or a novice DIY enthusiast, creating a custom bookshelf allows you to express your creativity and personalize your home. This step-by-step guide will walk you through the essential components and processes involved in constructing your own bookshelf.
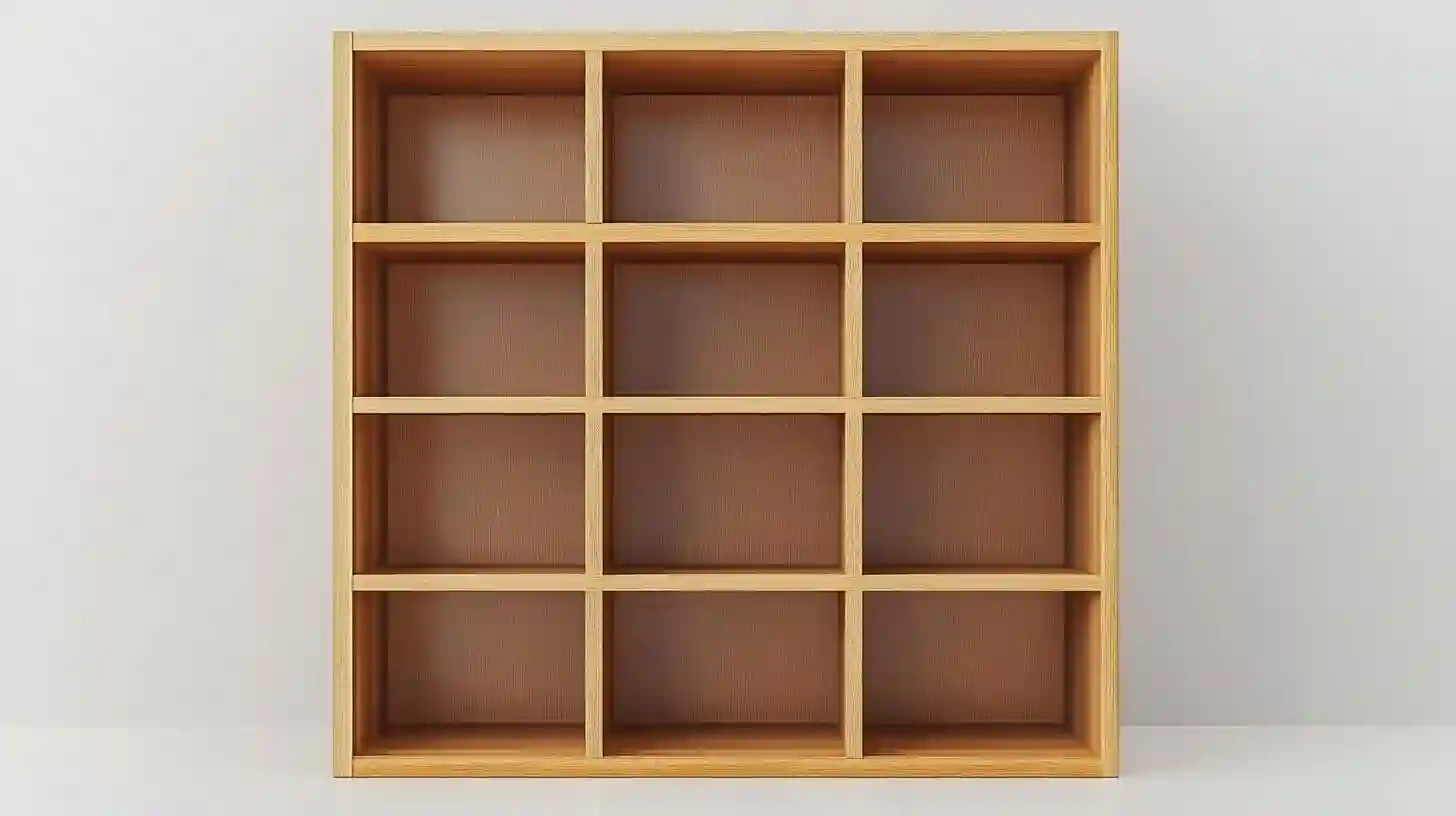
Before you start gathering materials, it is essential to decide on the design and dimensions of your bookshelf. Consider where you plan to place it and how much space you have available. You may want to measure the area where the bookshelf will sit to ensure a proper fit. Sketching out your design on paper can help visualize the final product, and this is an excellent time to think about the style you want, whether it be modern, rustic, or traditional. Be mindful of the shelf height, width, and depth, as well as the number of shelves you desire.
Once you have established the design and dimensions, it is time to gather all the necessary materials. For this project, you will need wood, screws, wood glue, and finishing materials such as paint or wood stain. Plywood or solid wood boards are great choices for constructing the shelves, while a sturdy two-by-four lumber can be used for the frame. Additionally, you may require brackets or shelf supports if your design includes floating shelves. Don’t forget to have the proper tools on hand, such as a drill, saw, measuring tape, level, paintbrush, and sandpaper.
When working with wood, precise measurements are crucial. Begin by measuring and marking your wood according to your design. Ensure that you double-check each measurement before making any cuts. Using a circular saw or miter saw can give you clean and straight edges, which will contribute to a polished final product. Once you have cut all your pieces, it is important to sand the edges smoothly to avoid splinters and to prepare the surface for finishing.
Now that your pieces are cut and prepped, it is time to assemble the frame of the bookshelf. Start by attaching the side panels to the bottom shelf, creating a box-like structure. Use wood glue for added stability and reinforce the joints with screws for durability. It’s advisable to use a level to ensure everything is straight and that the bookshelf is properly aligned. Once the side panels are secured, attach the top shelf using the same method.
For added support, consider designing additional shelves within the frame. Determine the desired spacing and mark where the shelf supports will go. You can install fixed shelves by securing them in place with screws or adjustable shelves using shelf pins that allow for flexibility. Ensure that all shelves are level and evenly spaced for a professional look.
Once the structure is complete, it is time to give your bookshelf the finishing touch. Choose a color or stain that compliments your home’s design. If you’re painting, applying a primer first can enhance the paint’s adherence and longevity. Allow the paint or stain to dry thoroughly between coats, following the manufacturer's instructions. After finishing, inspect the bookshelf for any rough spots and sand them down if necessary.
With the finish applied, it is time to prepare for installation. If your bookshelf is tall or heavy, consider securing it to the wall for added stability and safety, especially in homes with children or pets. Use wall anchors or brackets to ensure that the bookshelf remains secure and does not tip over. Once installed, you can begin to fill your new bookshelf with your favorite books and décor items. Arrange them in a way that pleases you, mixing taller books with smaller items for visual interest.
A DIY bookshelf not only serves a functional purpose but also become a personal statement in your home. As you fill your shelves with books, plants, and trinkets, the bookshelf transforms into a unique reflection of your personality. The satisfaction of completing such a project is unmatched, as you have created something from scratch that enhances your living space. Take pride in your work and enjoy the fruits of your labor, knowing that every time you see your bookshelf, you can appreciate the craftsmanship and effort that went into building it. Embrace this journey of creativity and functionality, and let your inspired design shine brightly in your home.